Getting started with sensor sensor operation based on Dragonboard 410c development board
Foreword: This article is mainly for friends who have not touched the Dragonboard 410c development board, teaches you how to build a platform from bare boards and how to operate the three Sensors of Light, Gesture and Color through this platform. In fact, these three sensors we often have contact, such as mobile phone through the Light sensor for automatic brightness adjustment and black screen power; mobile phone and computer screen through the Color sensor to adjust the screen color to make the screen color and output color closer, etc., in general through this process I believe that you can learn more about the Dragonboard 410c development board.
First, preparation worka. PC with Ubuntu 14.04 LTS system
b.Dragonboard 410c development board (LIGHT SENSOR, GESTURE SENSOR, COLOR SENSOR, I2C HUB, etc.)
c. A display that supports the HDMI interface
d. mouse, keyboard, micro USB data cable
Second, the environment to build1. Burn the Android system to the Dragonboard 410c development board through fastboot.
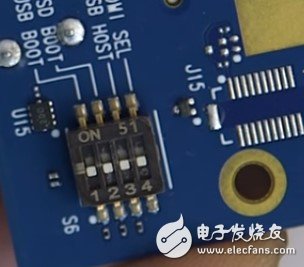
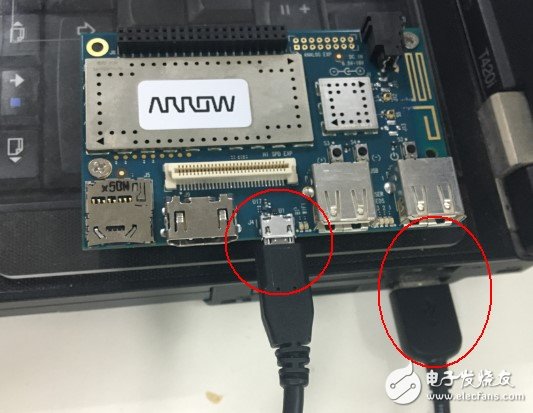
a. Set the development board S6 to the 0-0-0-0 state, then connect the micro USB interface to the development board and the other end to the PC, as shown in the figure:
b.DragonBoard 410c boot to fastboot mode
The first step is to press and hold the S4 (volume-) button when the board is started.
The second step, in the pc terminal: $sudo fastboot devices
The following interface appears to enter fastboot successfully.

c. Download and burn the bootloader image to the development board
The first step is to download the Android bootloader image.
Download Ubuntu bootloader image from here
The second step, in the pc terminal:
$ cd /home/winston/dragonboard410c_bootloader_emmc_android-50/
$ ./flashall
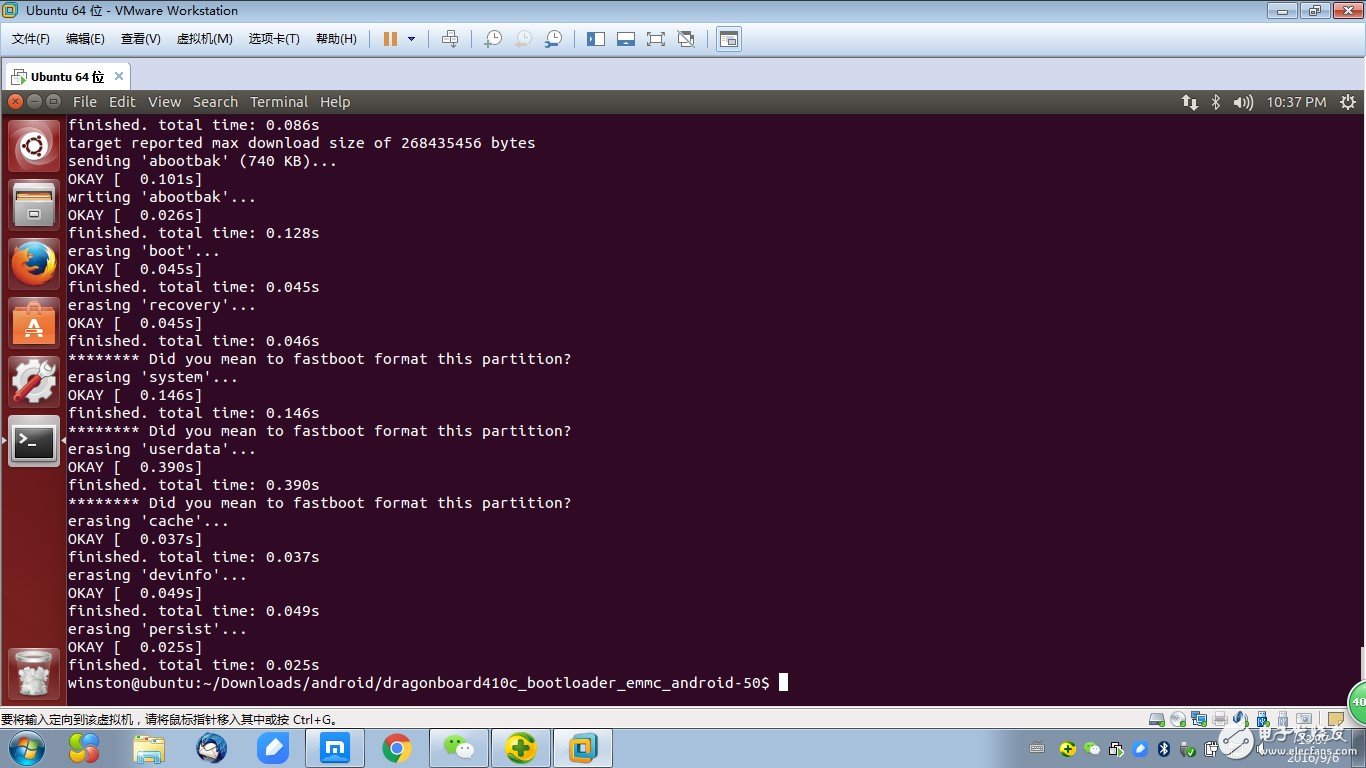
The following interface appears, that is, the bootloader is successfully written, the development board is restarted and the fastboot (sudo fastboot reboot bootloader) is entered.
d. Download and burn the Android image to the development board
The first step is to download the Android image.
The second step, in the pc terminal: $sudo fastboot flash boot boot.img

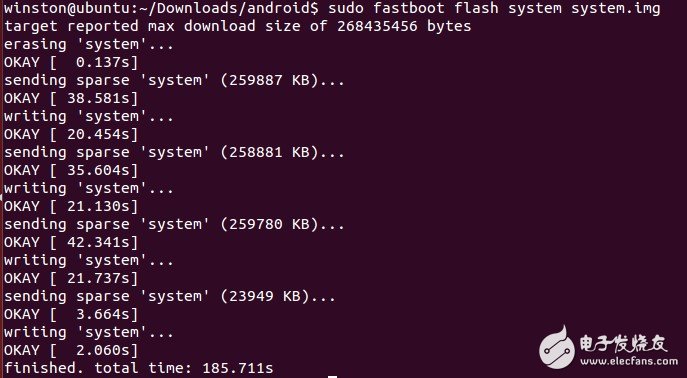
$sudo fastboot flash system system.img
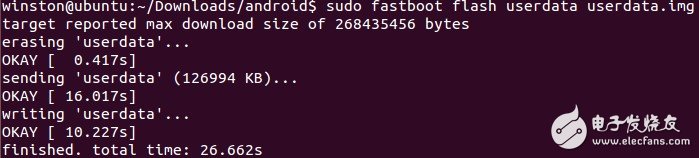
$sudo fastboot flash userdata userdata.img
$sudo fastboot flash recovery recovery.img

$sudo fastboot flash persistence.img

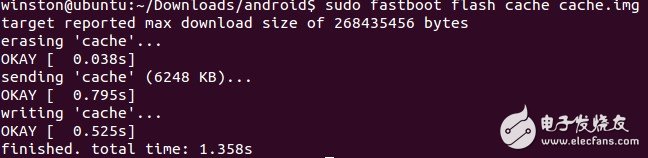
$sudo fastboot flash cache cache.img
The third step is to restart the system:
$sudo fastboot reboot
The following interface appears to install Android successfully.

2, install the sensor demo test program to the OS
a, download the sensor demo test program
b, install the APP into the system
$ sudo adb devices
$ sudo adb install sensordemo-app.apk
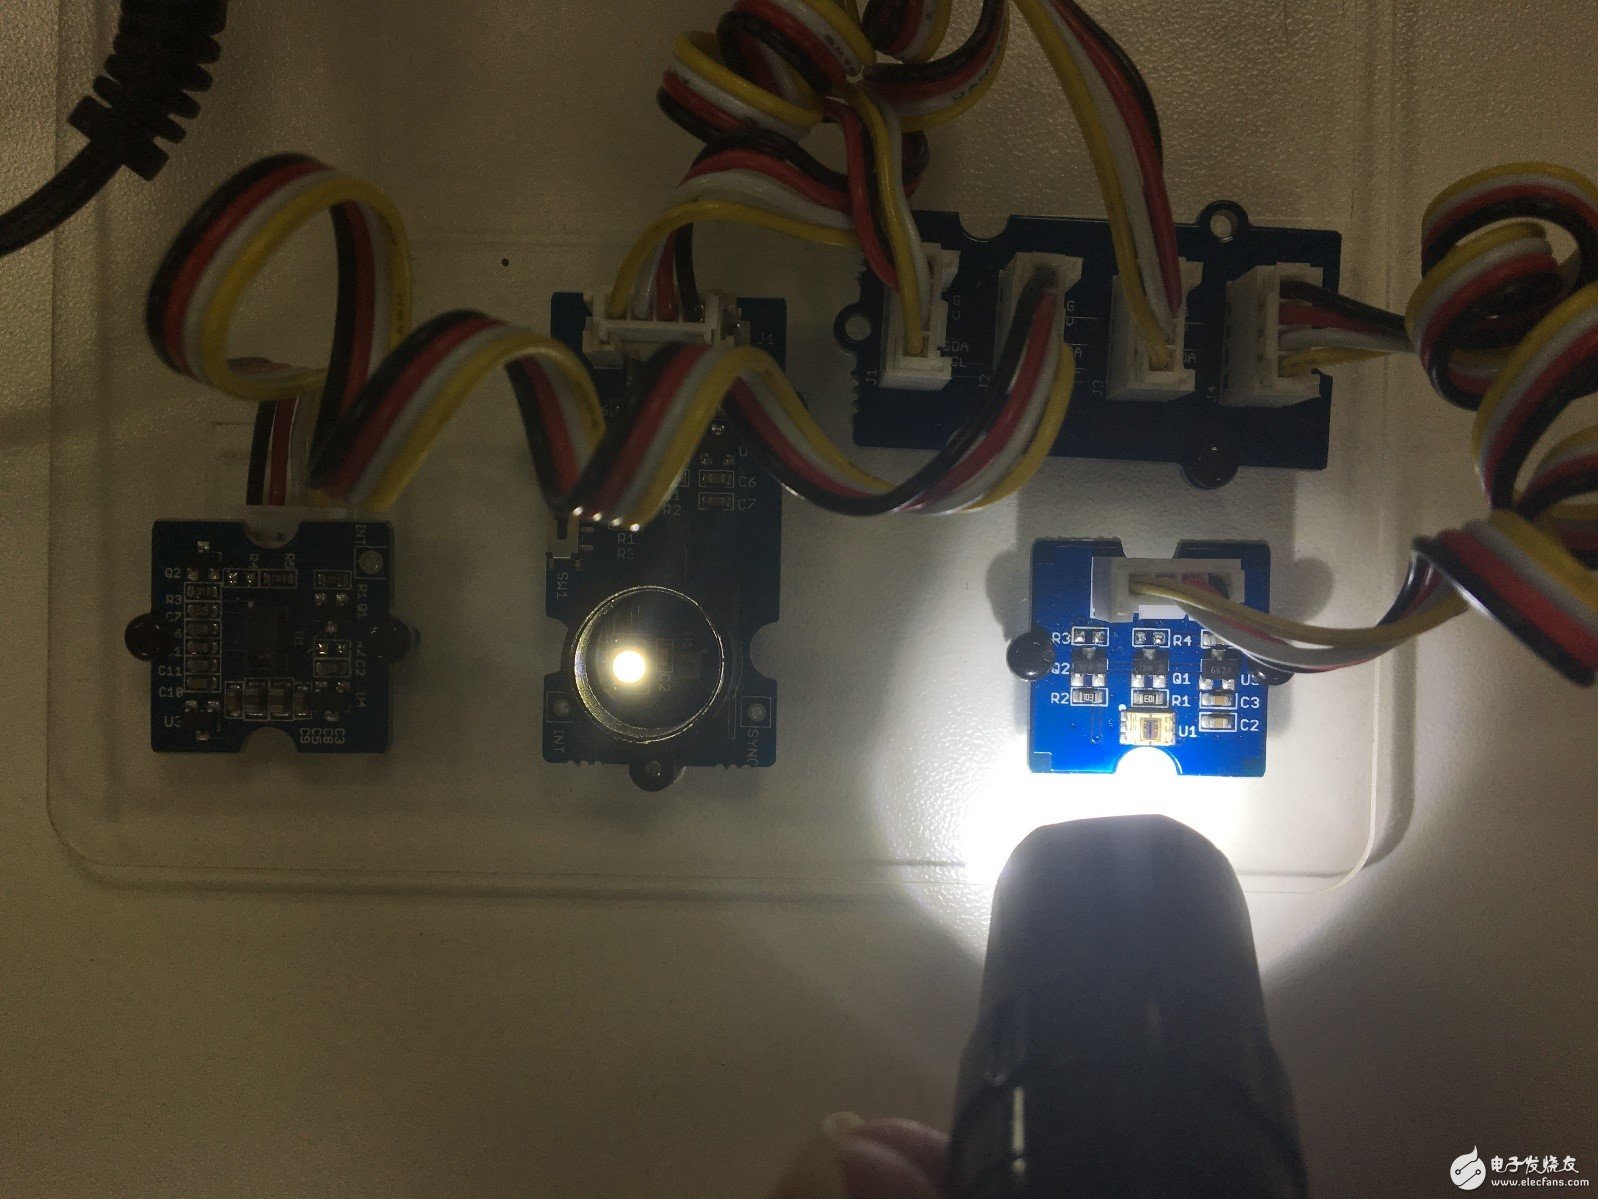
3. Hardware connection implemented by Sensor Demo
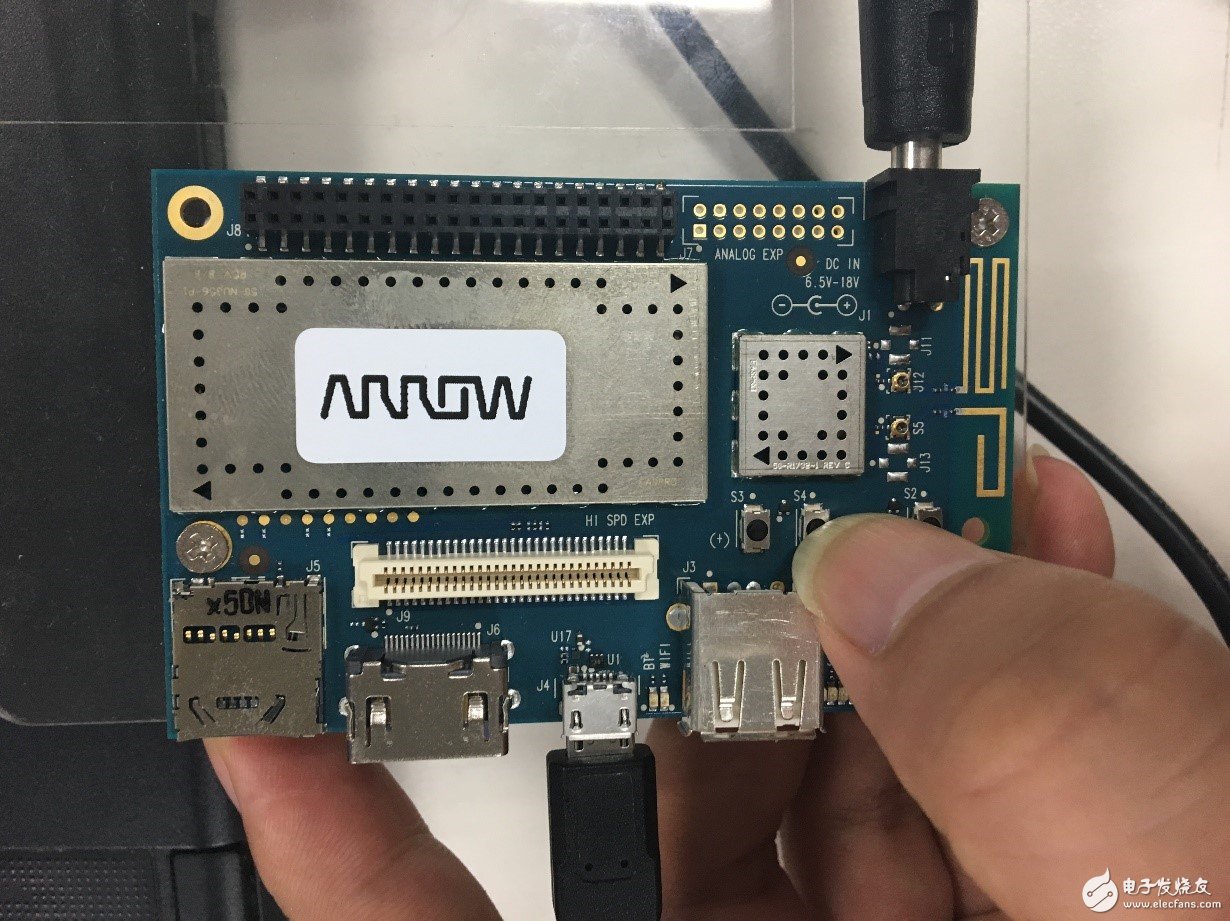
Under the condition that the development board is powered off, connect the interfaces of the device as shown in the figure and start the development board.

1, LIGHT SENSOR show
Light Sensor: used to measure ambient light. This type of light is measured by a photodiode and subjected to analog-to-digital conversion to generate Light parameters.
Steps:
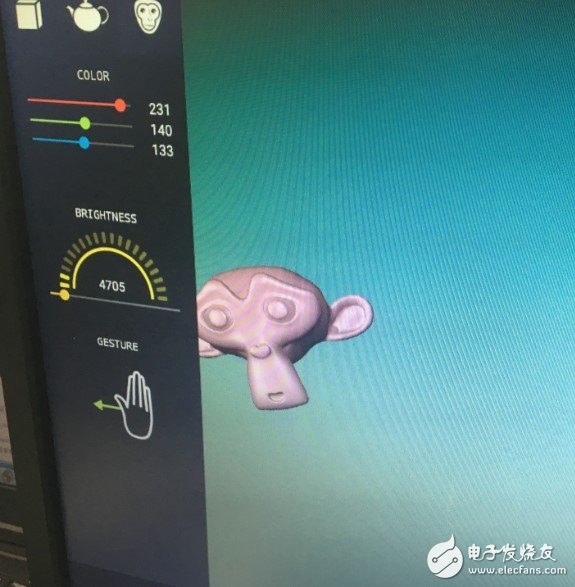
Open sensordemo-app
By illuminating the LIGHT SENSOR with weak to strong light, the change in BRIGHTNESS value on the APP can be observed and used to detect changes in light intensity in the environment.
It is usually used in mobile phones for automatic brightness adjustment and black screen power saving.
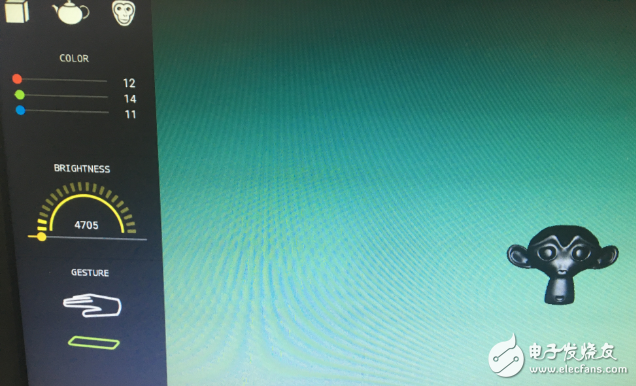
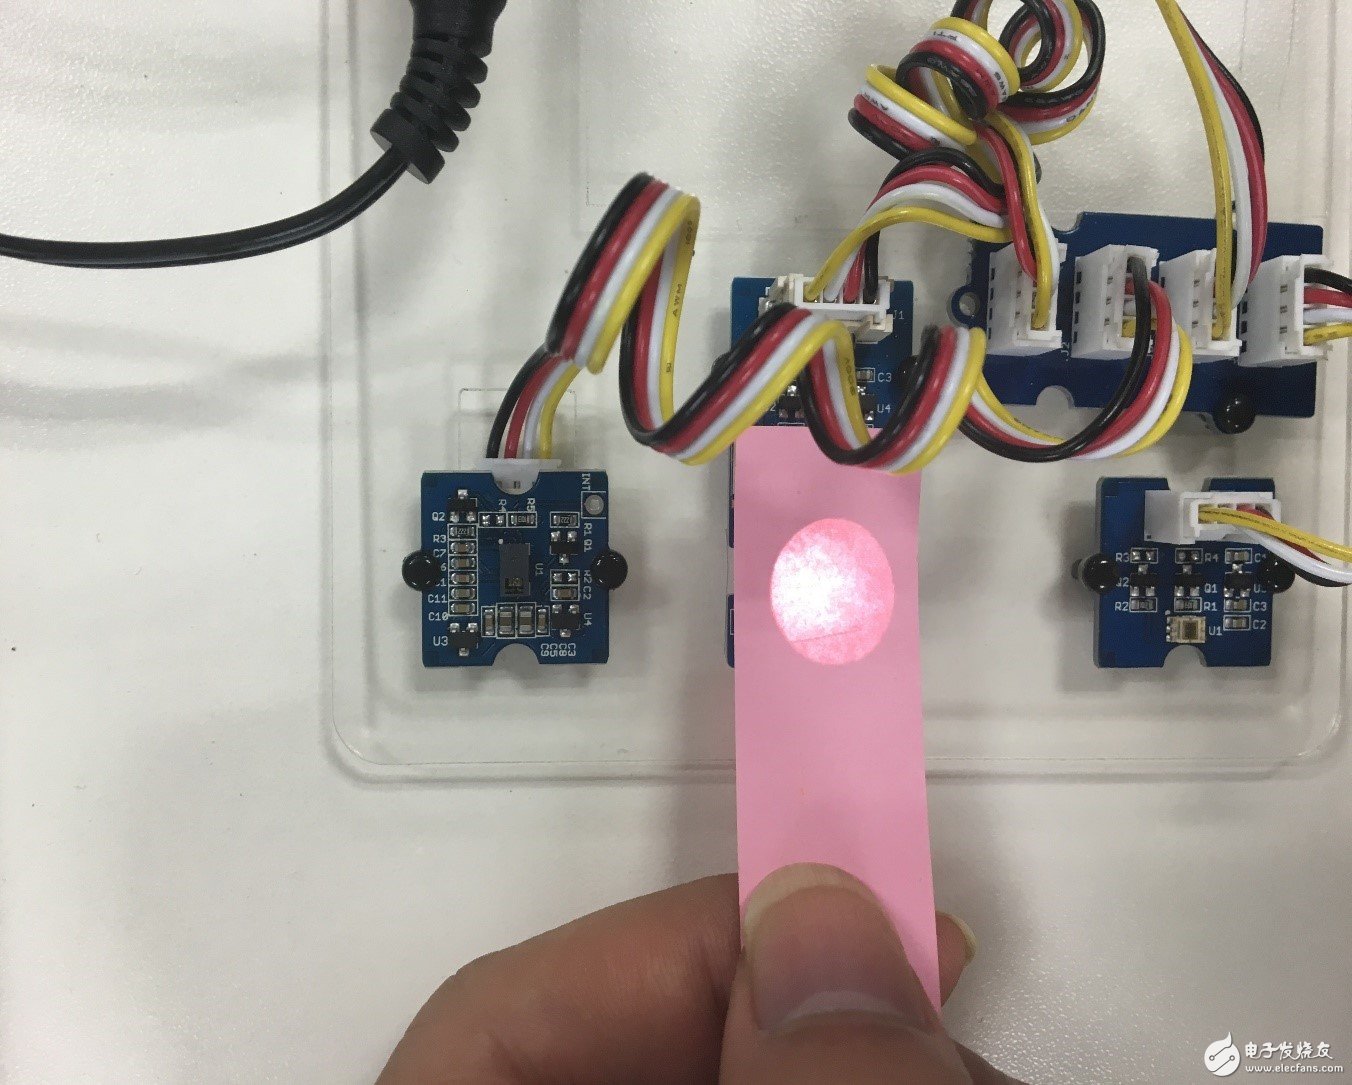
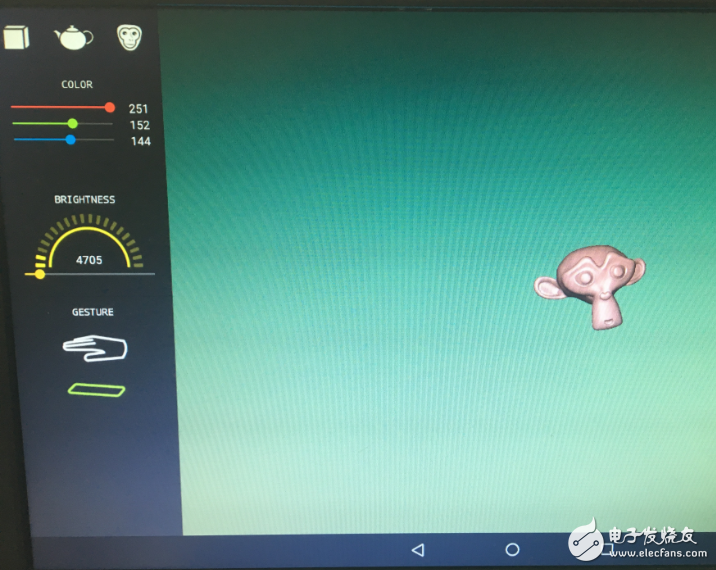
2, COLOR SENSOR show
Color Sensor: When a color filter is selected, it only allows a certain primary color to pass, preventing the passage of other primary colors. For example, when the red filter is selected, only red can pass through the incident light, and both blue and green are blocked, so that the intensity of the red light can be obtained. Similarly, by selecting other filters, blue light and The intensity of green light. With these three values, the color of the light on the projection sensor can be analyzed.
Steps:
The red, green, and blue paper strips are respectively blocked on the COLOR SENSOR, and the changes in the COLOR three primary color values ​​of the APP interface are observed.
Usually used to adjust the color of the screen and other functions, so that the screen color and output color are closer.
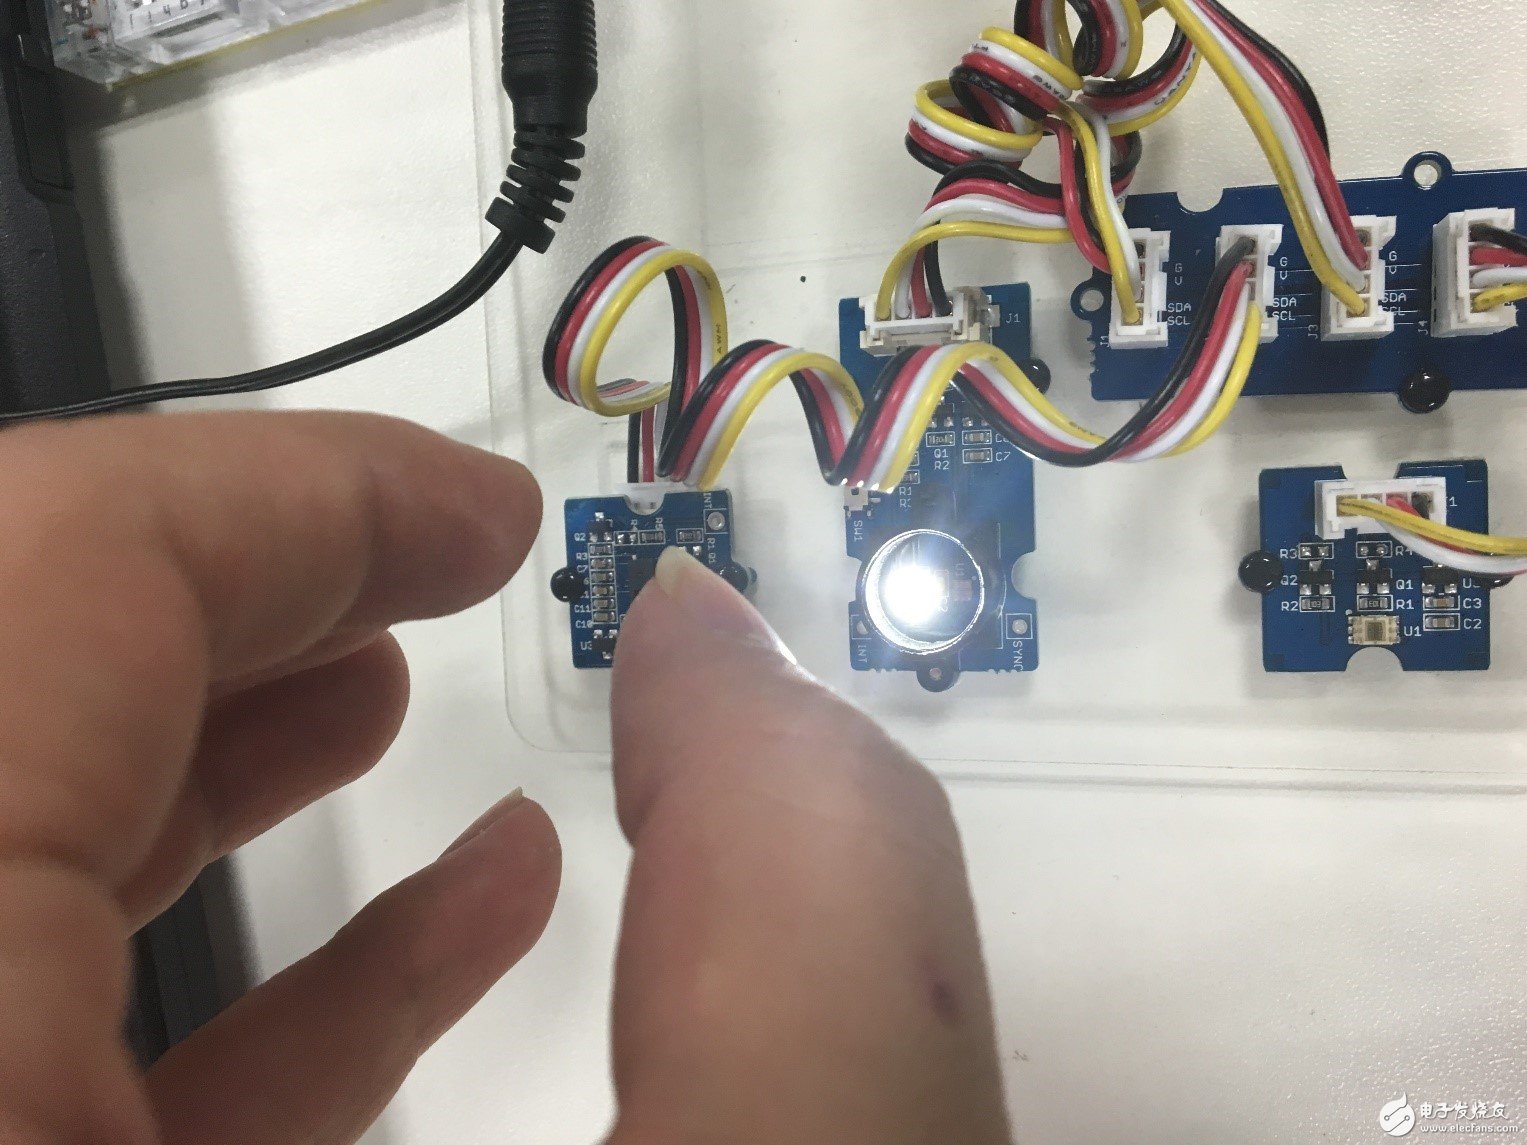
3, GESTURE SENSOR show
Steps:
The user brings the finger closer to the top of the GESTURE SENSOR and achieves manipulation of the target by making hand movements such as rotation, movement, and the like.
It is usually used to automatically turn off the screen during a call, to prevent misoperation, to unlock the airspace, and to turn the gestures.
Battery Charger,Ac/Dc Charger,Lithium Charger,Lithium Ion Charger
ShenZhen Yinghuiyuan Electronics Co.,Ltd , https://www.yhypoweradapter.com