MyEclipse and Tomcat configuration detailed tutorial analysis
First, the basic concept of Servlet:
Servlet is a dynamic web resource development technology introduced by Sun Microsystems. In essence, it is a small Java program that runs within a servlet container. You can add a servlet to a servlet container such as Tomcat to execute it.
Servlet Container: The environment where a servlet can run is known as a servlet container. Tomcat is one example of a servlet container.
Web Container: A web container is an environment capable of running web applications. Tomcat also serves as a web container in this context.
The basic operation of a Servlet:
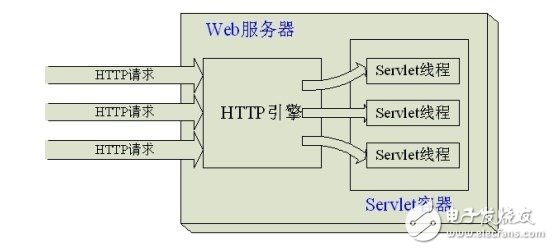
Servlets do not have a main() method. Instead, they are controlled by another Java application, such as Tomcat, which acts as the servlet container. Tomcat is commonly referred to as a servlet container.
Servlets are typically executed in a multi-threaded mode by default.
Note: JSP (JavaServer Pages) is designed for easier writing of HTML and Java code together. However, in reality, JSP is ultimately converted into a Servlet during compilation.
Second, configuring MyEclipse:
1. Selecting the workspace: When you switch workspaces, all previous configurations will be cleared.
2. Configuring JDK:
Go to the menu bar and select "Window > Preferences." Then, choose the "Java > Installed JREs" tab, as shown below:
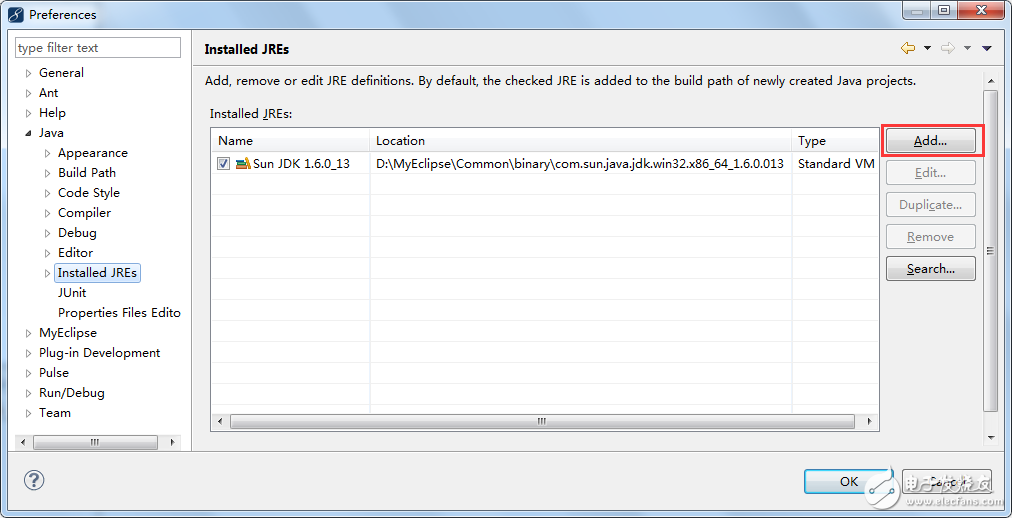
In the image above, you can see that MyEclipse has its own built-in JDK. However, we will use the JDK we installed ourselves. Click the "Add" button, as shown in the following interface:
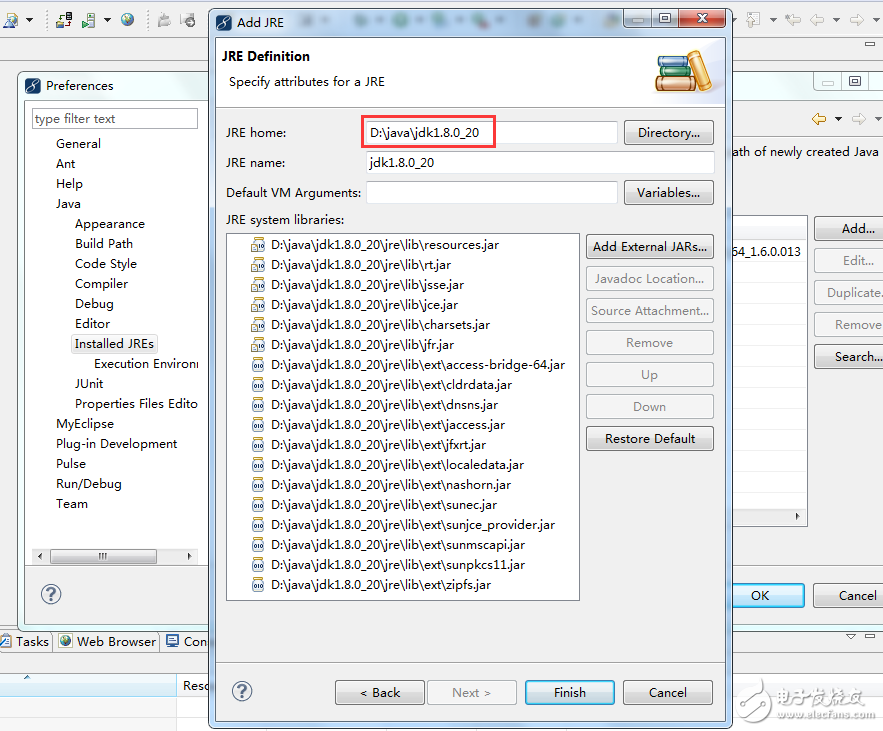
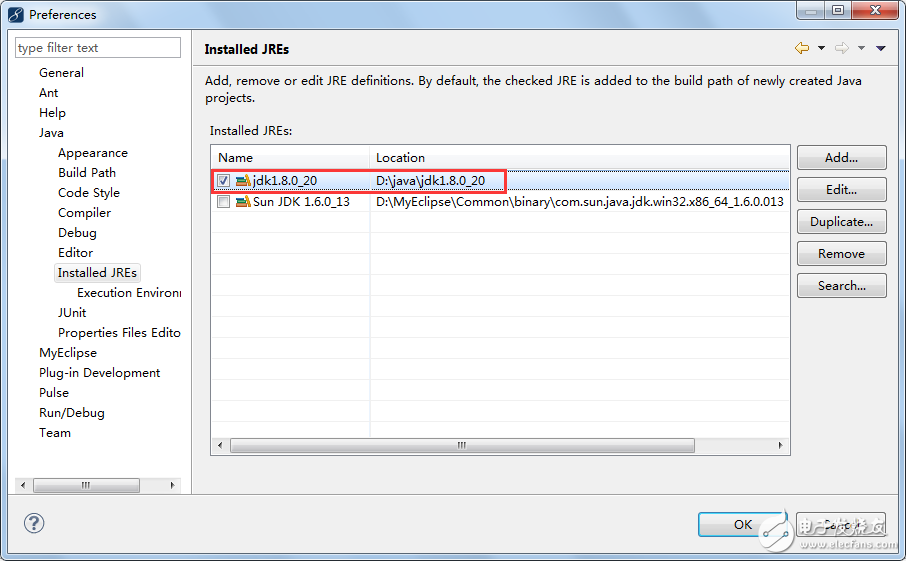
Select the path of the JDK you have installed and click "Finish" to continue.
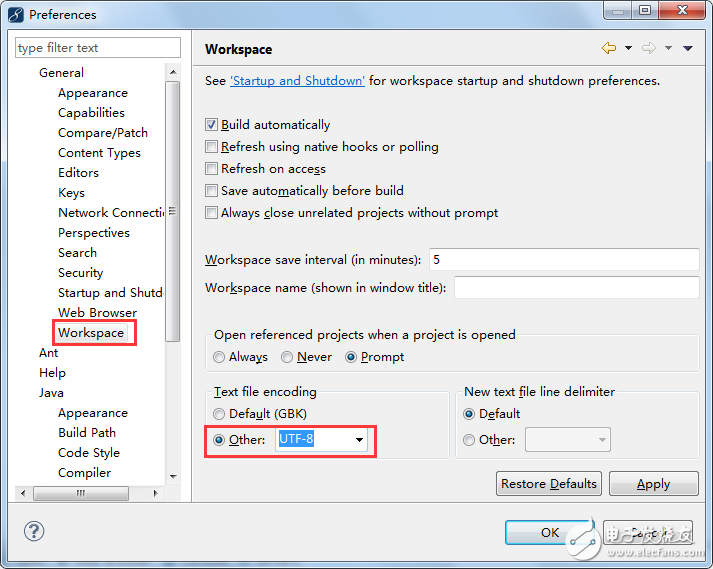
3. Setting the workspace encoding: From now on, the default encoding of text files in any project you create will be UTF-8.
Go to "Window > Preferences," then select "General > Workspace" as shown below:
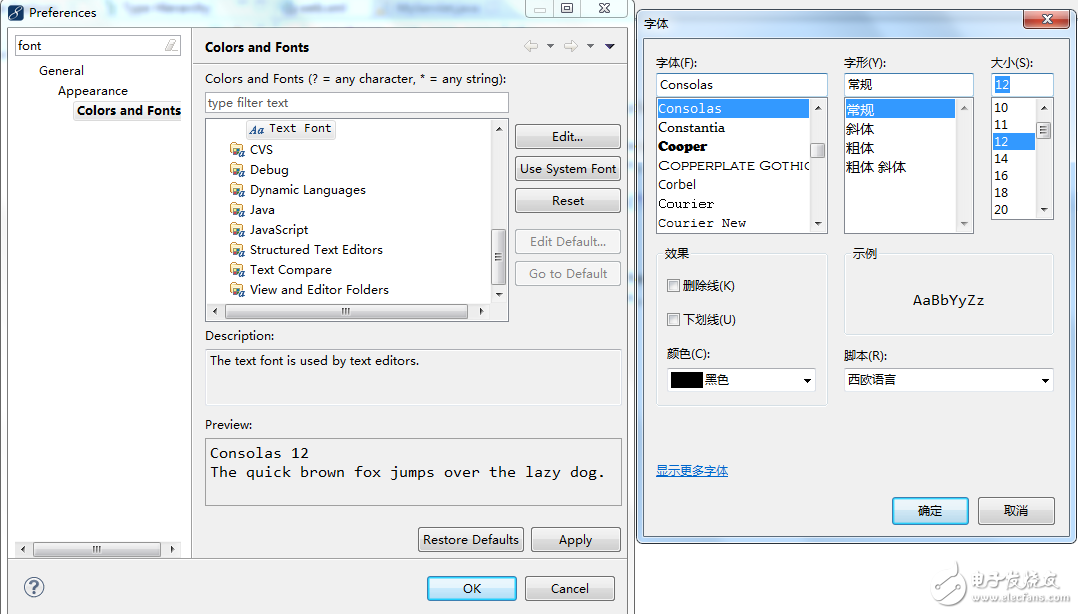
4. Changing the font settings:
Third, using MyEclipse to create a Web project:
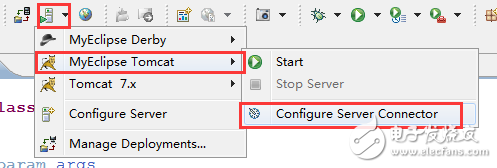
1. Configuring Tomcat in MyEclipse:
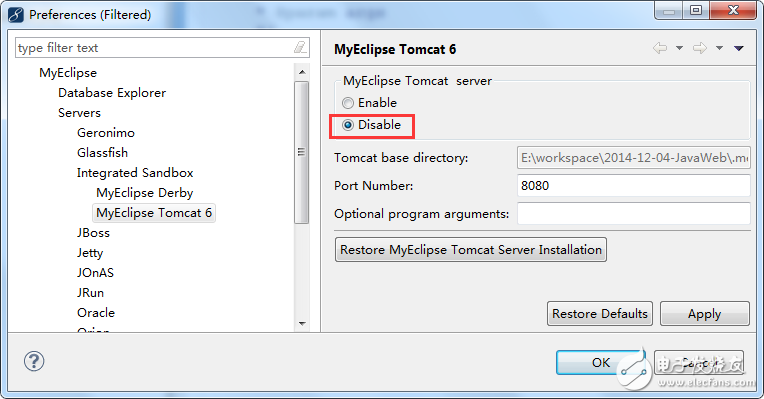
Go to the menu bar and select "Window > Preferences." Then go to "MyEclipse > Servers > Tomcat," as shown below:
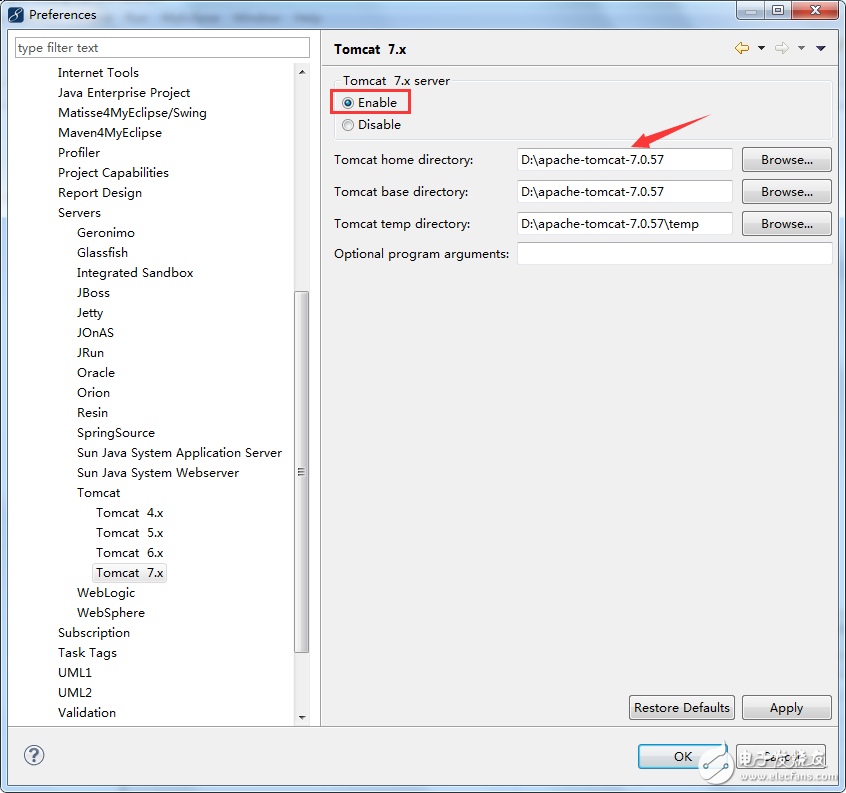
In the above image, select your own Tomcat directory and make sure to check the "Enable" option in the red box.
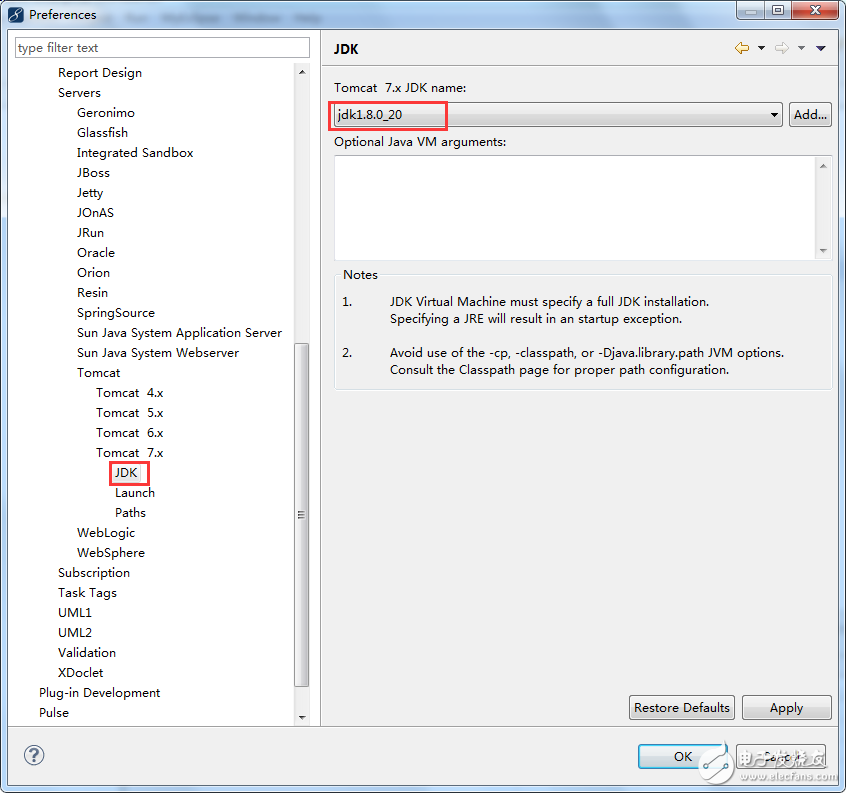
Check the running JDK:
At the same time, close MyEclipse to bring up Tomcat:
2. Creating a Web project in MyEclipse:
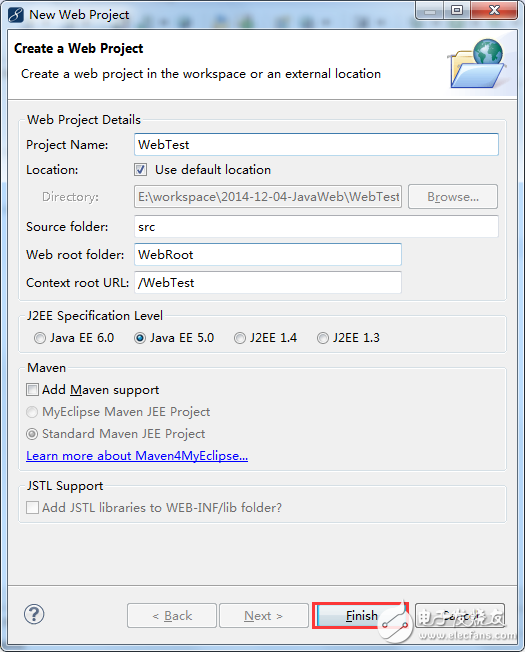
The "Context root URL" in the figure refers to the virtual path used for external access. Click "Finish" to proceed:
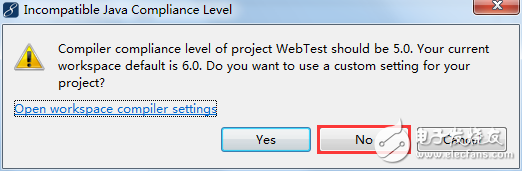
In the above image, select "No." Choosing "Yes" would compile with version 6.0 instead of 5.0. Continue:
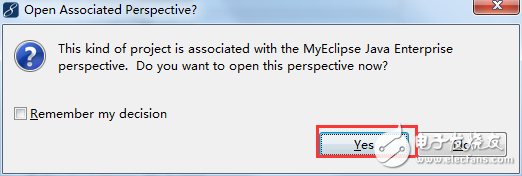
In the image above, switch from the Java view to the MyEclipse view and select "Yes."
The newly created project has the following directory structure:

WebTest: This is the name of the web project. When deployed, an example web application will be placed in the Tomcat's webapps directory.
Src directory: This is where your Java programs are developed. All code written here is automatically deployed to the web-inf/classes directory when the project is deployed.
WebRoot directory: This corresponds to the root directory of the web application. All subdirectories and files inside this folder will be published to the web application directory upon deployment.
If you need to change the Context Root of the web project's external access path, right-click the project, select "Properties," and go to "MyEclipse > Web" as shown below:
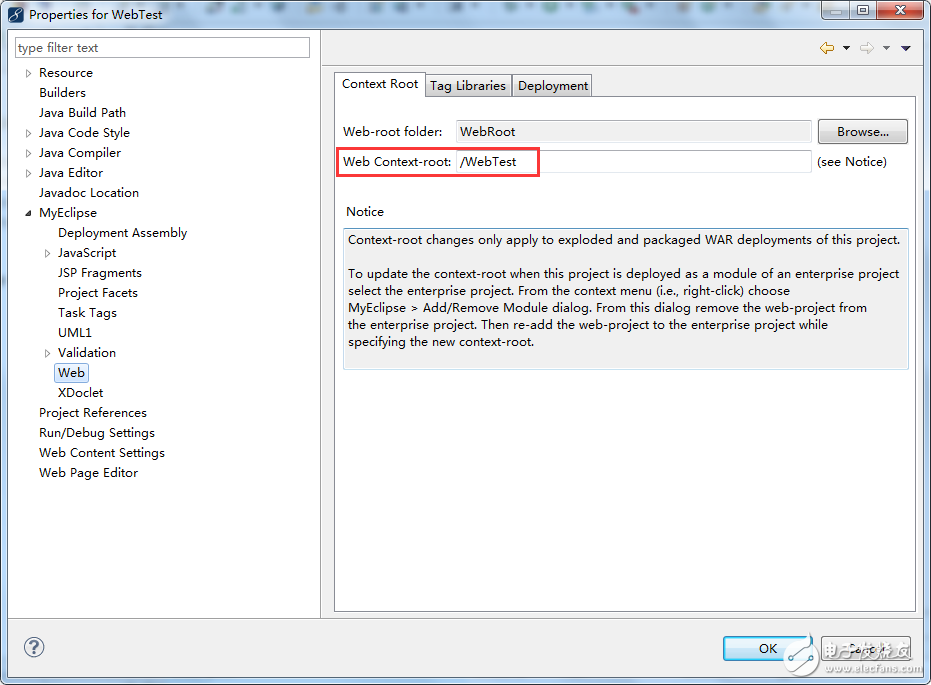
In the red box of the above image, you need to make the necessary changes.
3. Publishing the web project to Tomcat:
Click the button shown in the image (below the menu bar), which says "Deploy Project to Server." The following interface will appear:
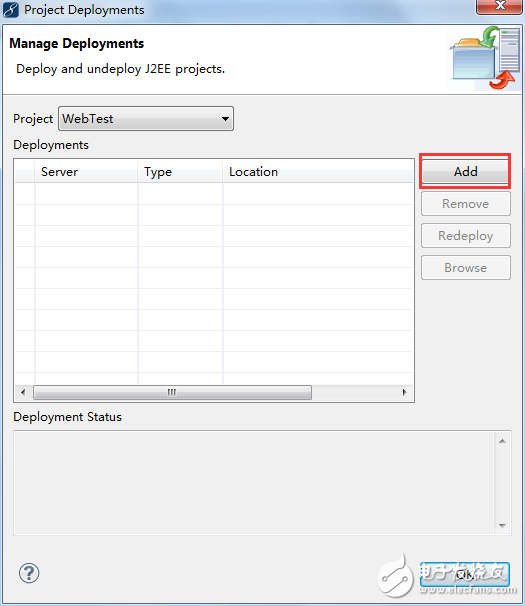
In the image above, click "Add" and continue:
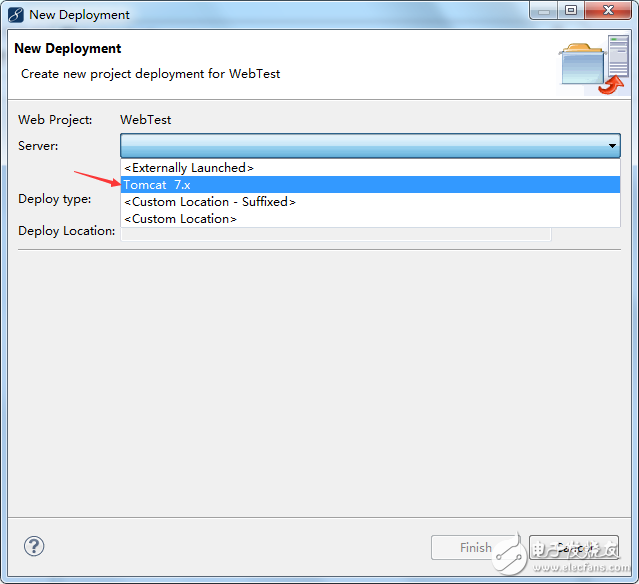
In the image above, select the Tomcat you have configured and proceed.
Of course, there is another way to publish to Tomcat by right-clicking the project file, as shown below:
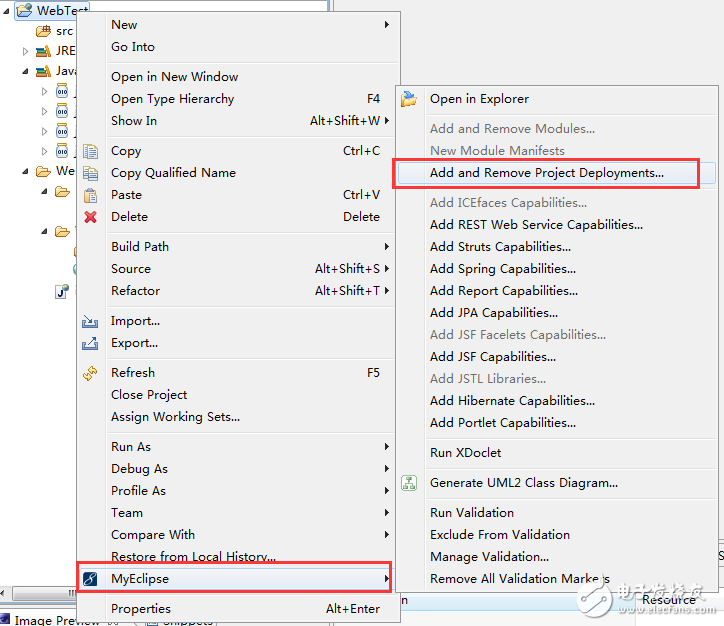
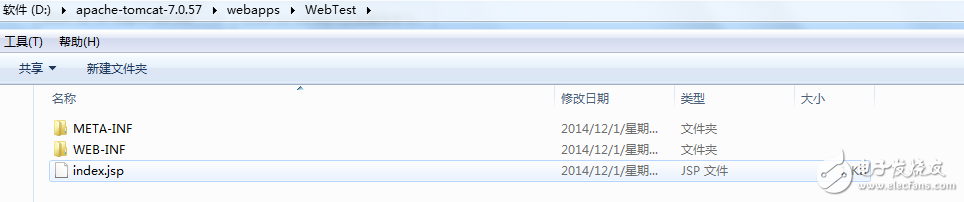
Once the project is deployed to Tomcat, it will immediately copy the WebRoot directory to the Tomcat's webapps directory and rename the WebRoot to the project name, WebTest.
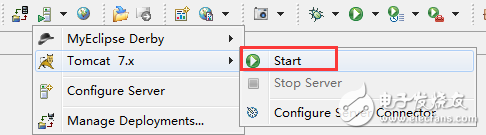
After publishing, to view the effect on the webpage, start Tomcat first:
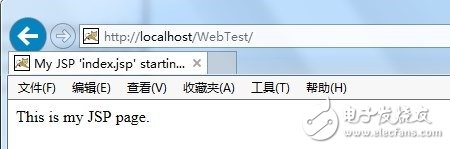
Then enter the URL in the browser:
Fourth, the general steps to create a Servlet:
The framework of a Servlet consists of two Java packages: javax.servlet and javax.servlet.http. At the core of the Servlet framework is the javax.servlet.Servlet interface, which all Servlets must implement.
Step-by-step process:
Ultraviolet Climate Resistance Test Chamber
Ultraviolet Climate Resistance Test Chamber,Uv Intensity Test Chamber,Sun Resistant Test Chamber,Sunlight Exposure Test Chamber
Wuxi Juxingyao Trading Co., Ltd , https://www.juxingyao.com